Monday, March 7, 2011

Tiny Hats, Pastry Cats

The King Has Arrived
King Cake for Mardi Gras

I have been dying to make a hands on pastry for a while and found myself with some time to give one a good go. A few years ago I had been introduced by Ray Deter of d.b.a, to a New Orleans Mardi Gras tradition - King Cake. It's  like a doughy coffee cake with sticky bun insides and Delta-style colors to get you in the mood to get to the French Quarter! Traditionally, a small plastic baby is tucked inside the treat for the finder to be the "King" for the day. On my own traditional, I used a small ninja and a cowboy instead (May the finder be gifted with silent prowess or rodeo skills for the day.)
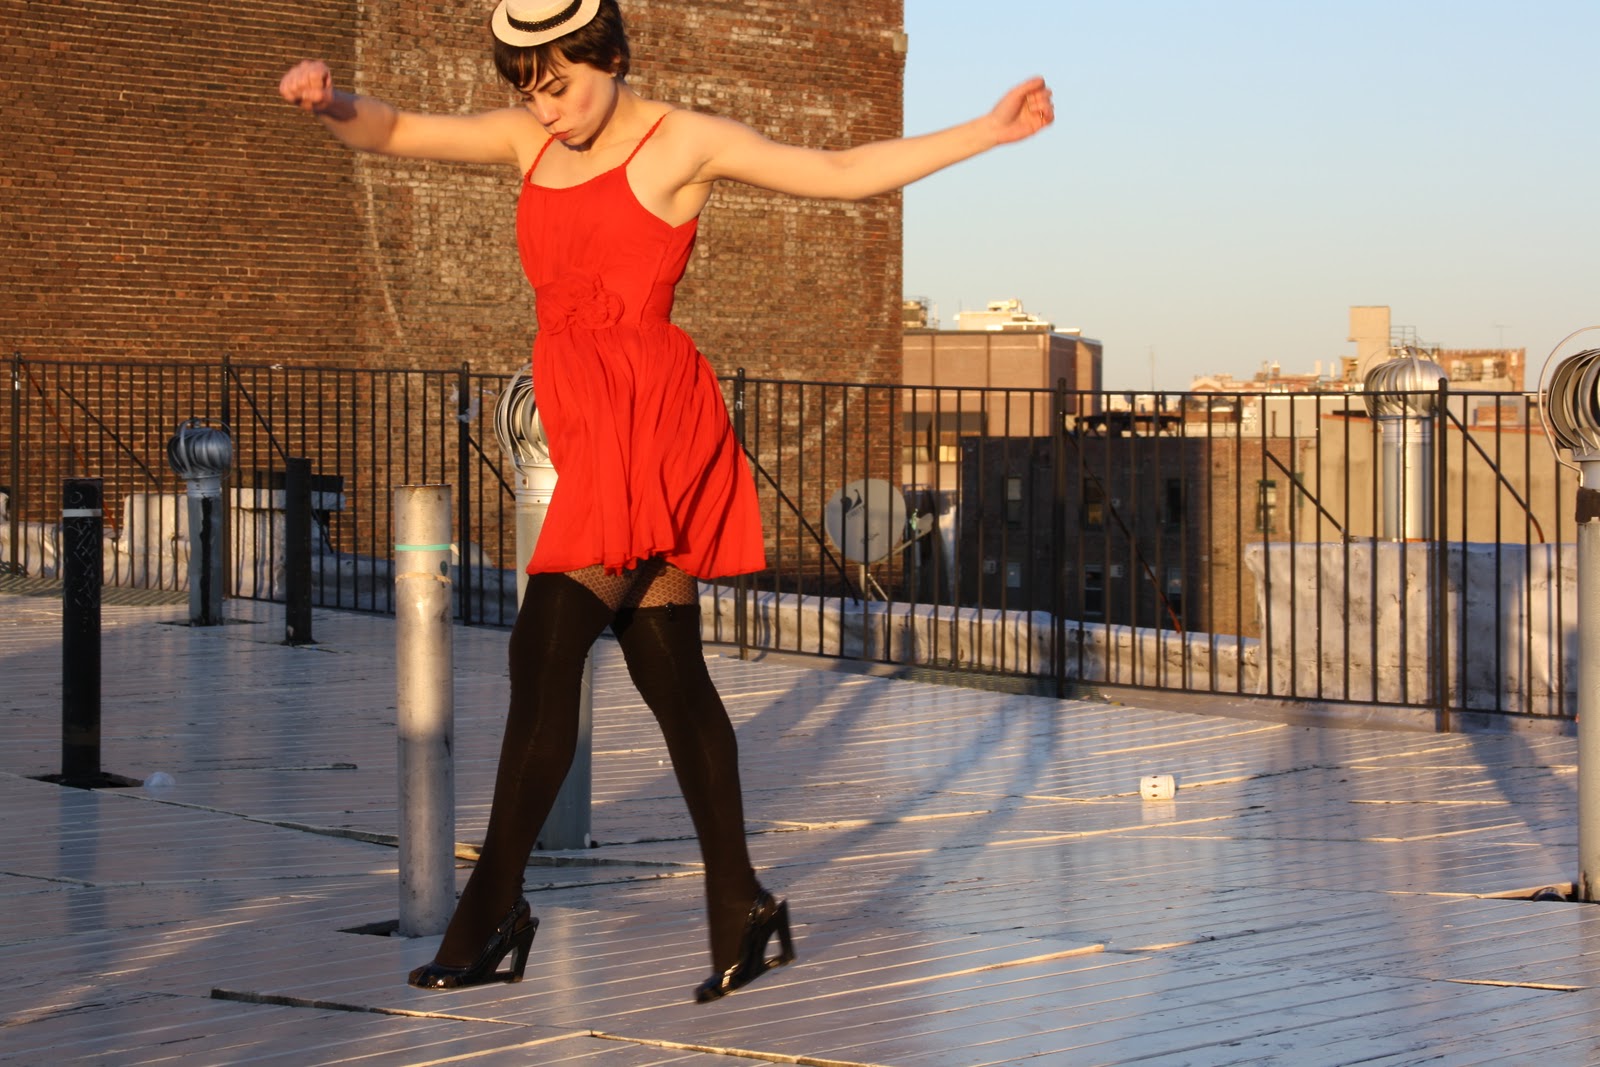
The pastry used is basically a sweet bread recipe, taking all day to create with plenty of kneading and resting. Having tackled some bread recipes before I knew what I was in for. Bread recipes are an on/off all day affair. They don't require you to stay at home all day, just stay close enough so you can "punch down" what has risen. Bread's the perfect thing to make when you want to bake but have stuff to get done! Lots of fun to make and between kneading & rising, I got to the roof to snap some photos of my new love: the tiny hat! Recipe after photos.    
           

Mardi Gras King Cake, Allrecipes.com

(My comments are in italics)

Ingredients:


Pastry
1 cup milk
1/4 cup butter
2 (.25 ounce) packages active dry yeast
2/3 cup warm water (110 degrees F/45 degrees C)
1/2 cup white sugar
2 eggs
1 1/2 teaspoons salt
1/2 teaspoon freshly grated nutmeg
5 1/2 cups all-purpose flour

Filling
1 cup packed brown sugar
1 tablespoon ground cinnamon
2/3 cup chopped pecans (I threw in some walnuts too)
1/2 cup all-purpose flour
1/2 cup raisins
1/2 cup melted butter

Frosting
(I did this in 3 small batches, one batch for each color)
1 cup confectioners' sugar 
1 tablespoon water (a little more to make more runny, a little less to make more sticky)


Directions:

For pastry:

Scald milk (heat until about 180 degrees in a double boiler or in the microwave), remove from heat and stir in 1/4 cup of butter. Allow mixture to cool to room temperature. In a large bowl, dissolve yeast in the warm water with 1 tablespoon of the white sugar. Let stand until creamy, about 10 minutes.

When yeast mixture is bubbling, add the cooled milk mixture. Whisk in the eggs. Stir in the remaining white sugar, salt and nutmeg. Beat the flour into the milk/egg mixture 1 cup at a time. When the dough has pulled together, turn it out onto a lightly floured surface and knead until smooth and elastic, about 8 to 10 minutes.

Lightly oil (I used butter) a large bowl, place the dough in the bowl and turn to coat with oil. Cover with a damp cloth or plastic wrap and let rise in a warm place until doubled in volume, about 2 hours. When risen, punch down and divide dough in half.

Preheat oven to 375 degrees F (190 degrees C). Grease 2 cookie sheets or line with parchment paper. (I used pizza stones)

For filling:
Combine the brown sugar, ground cinnamon, chopped pecans, 1/2 cup flour and 1/2 cup raisins. Pour 1/2 cup melted butter over the cinnamon mixture and mix until crumbly.

To assemble:
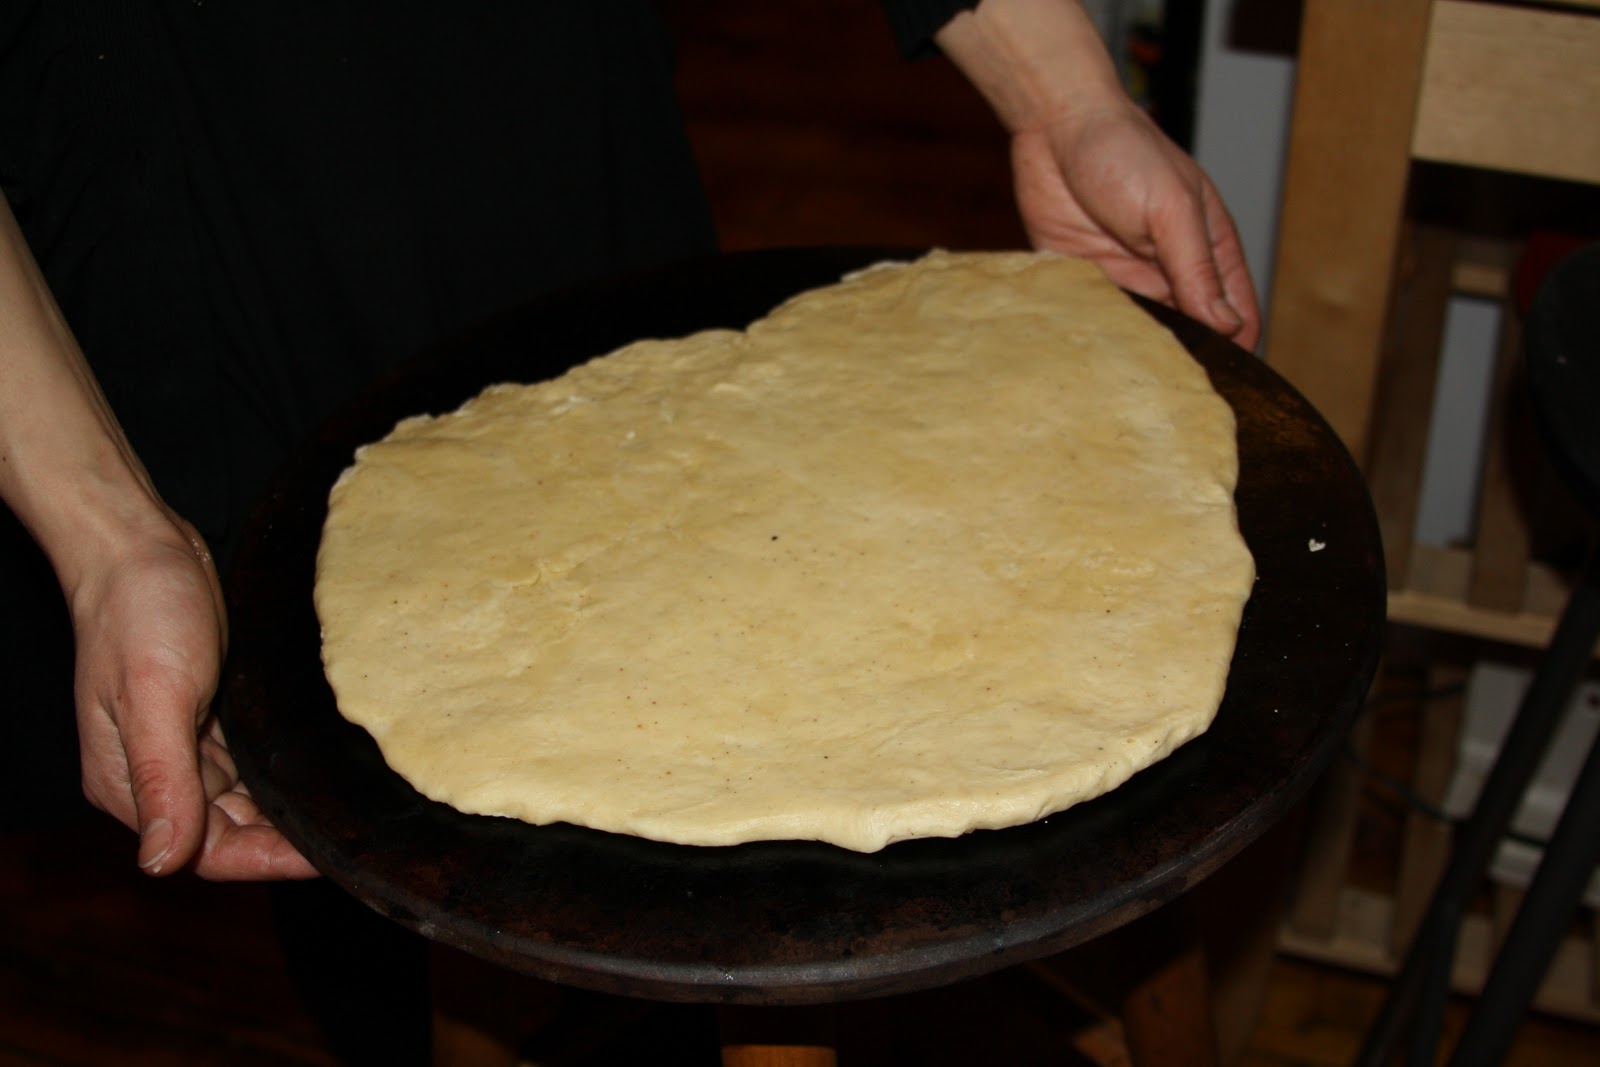
Roll dough halves out into large rectangles (approximately 10x16 inches or so)(Mine ended up being a something more akin to the shape of Greenpoint or Staten Island). Sprinkle the filling evenly over the dough and roll up each half tightly like a jelly roll, beginning at the wide side. Bring the ends of each roll together to form 2 oval shaped rings. Place each ring on a prepared cookie sheet. With scissors make cuts 1/3 of the way through the rings at 1 inch intervals(Like the cuts in a Bear Claw pastry). Let rise in a warm spot until doubled in size, about 45 minutes.
Bake in preheated oven for 30 minutes. Push the doll into the bottom of the cake(after you have taken the cake out of the oven. I stuffed a ninja in the side of the cake. When you frost, be sure to cover the evidence!) Frost while warm with the confectioners' sugar blended with 1 to 2 tablespoons of water.


red h&m dress, jl Tiny Hat and socks, Calvin Klein textured stockings,  borrowed sunnies, Bakelite ring, Diesel ring, Belle by Seigerson Morrison shoes, photos: Tess

Sunday, February 6, 2011

Sunday Breakfast


Waffle Irons are an excuse to make waffles


\


 Good Morning, Sunshine! have been craving waffles, mostly to use my waffle iron. It's a fun little gadget that has only one use: breakfast confections! The last time I used it must have been before I moved to the city. I pulled it out, dusted it off and buttered it up. My first waffle was a small disaster - batter flowing out around the edges of the iron  and an anxious cook opening the iron too soon. Waffle #2 was a bit easier. I pulled back on how much batter I poured in as well as made sure the iron was properly buttered. Getting the waffles off the iron is a little tricky too. I used a knife and a spatula like chopsticks to pick out the cooked waffle. I used a basic waffle recipe from Alton Brown, after the photos. 


 Alton Brown's Waffle Recipe
prep time: 15 minutes
cook time: 10 minutes

A little less than 1cup all-purpose flour
A little less than 1 cup whole-wheat flour
1/2 teaspoon baking soda
1 teaspoon baking powder
1 teaspoon salt*
3 tablespoons sugar
3 whole eggs, beaten
1 stick(1/2 cup) unsalted butter, melted
2 cups buttermilk, room temperature
Vegetable spray, for waffle iron*


Preheat waffle iron according to manufacturer's directions. In a medium bowl whisk together the flours, soda, baking powder, salt, and sugar. In another bowl beat together eggs and melted butter, and then add the buttermilk. Add the wet ingredients to the dry and stir until combined. Allow to rest for 5 minutes. *


Ladle the recommended amount of waffle batter onto the iron according to the manufacturer's recommendations. Close iron top and cook until the waffle is golden on both sides and is easily removed from iron. Serve immediately or keep warm in a 200 degree F oven until ready to serve.

* - I omitted (forgot to add) salt. I used butter for the waffle iron. I did not rest the batter for 5 minutes but I supposed it would give the baking soda and powder time to disperse. 

Thursday, February 3, 2011

Impromtu Dinner

Coconut Ginger Curry with Chicken
These cold cold nights have made me quite a homebody. While delivery is great, homemade is infinately better. I decided to whip up some delish without going to into comfort food. I have been curling up with How to Cook Everything a lot lately as a leisure read, Mr. Bittman has inspired me yet again! Through some curry powder into coconut milk and sauteed some veggies in peanut oil. While the sauce was cooking, it was missing something - tossed in some soy sauce and VOILA!


Coconut Ginger Curry with Chicken
prep time: 15 minutes
cook time: 20 minutes

1 green squash
1 yellow squash
2 large carrots
Large handful snow peas
1 to 2 chicken breasts, cubed into 1to 1 1/2 pieces, salt and pepper to taste
One medium size onion
2 cloves garlic
3 tablespoons freshly grated ginger (or to taste)
One can light coconut milk
1 tablespoon curry powder
about 1/4 cup soy sauce
Peanut oil for sauteing (I would not use olive oil, to big of a flavor against the curry)

Chop green and yellow squash, carrots, onion, and garlic. Put green and yellow squash and carrots in a large enough pan, use peanut oil to cook(I would recommend getting these started first as these veggies take time to soften and cook). In small sauce pan on low to medium heat add coconut milk, curry and soy sauce allow to warm until a small boil  keeping the heat even (I threw some ginger in here as well). Heat peanut oil and add onions, garlic and ginger (you can grate the ginger directly over the pan). Once brown and the flavor fills the air, add chicken. Add snow peas to chicken pan. Serve veggies and chicken together and dress with coconut ginger curry sauce. 

You could serve this over a bed of jasmine rice if you like as well.  The veggies can also be substituted out for whatever is fresh at your local grocer or even what you have frozen. I would put in some mushrooms the next time I make this.

Thursday, January 27, 2011

Sloshed

Drive by on Bond Street

New York has traded the bitter cold for Thundersnow! The city is covered in snow and there's no snow day for me, sadly. It's really the perfect day to run around an play in the snow. We were able to jump on some yet to plowed snow banks. All I really want to do is sled in Central (or Prospect) Park with my friends and pounce about in my wellies. Too bad I can't come to work in snow pants. Get outside city slickers!
vintage leather bomber jacket, f21 sweater, white cutout flower vintage blouse, banana republic trousers, black scarf from Chicago a million years ago, Yukon Tracks Rabbit Fur Hat, Hunter Boots, Claire's connector rings, H&M headband, gifted necklace, thrift sunnies
photos: Tess

Sunday, January 23, 2011

Time to make the donuts

Fritters, Donuts, and Beignets with Rienne Marzo Martinez, The Brooklyn Kitchen, Round 2
(or Frying with Confidence) 
Oh, to learn so much about my favorite weakness! This was the second half of my Christmas present. I absolutely loved this class. Our class learned four easy recipes for Apple and Sweet Potato Beignets, Churros, Cake Donuts, and Native American Fry Bread (can be sweet or savory). Rienne gave us great details on donuts at home: it's all about frying with confidence. The oil has to be a the right temperature, 375 degrees, and don't just throw in the dough. Gently sliding in the dough keeps the hot oil from splashing back and burning the deuce out of your hand!


 Beignets


Donuts


Native American Fry Bread
I just realized I didn't get any photos of the Churros because I was too busy making them! Readable visual: imagine you have a pastry bag filled with a light dough. Squeeze the dough through the tip directly into the frying oil. Once cooked, removed and cover generously with cinnamon sugar. 

Making donuts at home is easy! Again, like sausage making, it's all about having the right tools. A candy thermometer and heavy bottomed pot, like this French oven or deep cast iron skillet, are the keys to easy at home frying. A traditional stock pot or large steamer are not thick enough on the bottom to hold the oil at a constant temperature without ruining the pot. 

Since there is not yeast in the recipes for these doughs, like cake, pancake, or waffle batters, relies on the baking powder/baking soda for leavening action. When preparing the dough, be careful not to over beat the leavening ingredient. It keeps the dough light and fluffy. 

Watch for these to be made at home soon! Recipes will be posted then.

ps....I made the chorizo eggs with corn and black beans for brunch today for my two roommates -another hit! I will definitely be making chorizo patties soon. 

Friday, January 21, 2011

Snow Leopard

New York's been freezing but a bit of sunshine made these photos possible. We made a mad dash outside for a quick shoot. This is the first time I was able to wear my newly acquired little boys' suit jacket. I still can't decide what color it is - taupe? olive? cement? Who knows? It's cute and fits me better than a ladies' blazer ever did. 


dress Isaac Mizrahi for Target, little boys' suit jacket thrift, sunglasses thrift, borrowed scarf, jl tights, Chococat Sanrio watch, shoes United Nude Eamz